Project Setup in Visual Studio
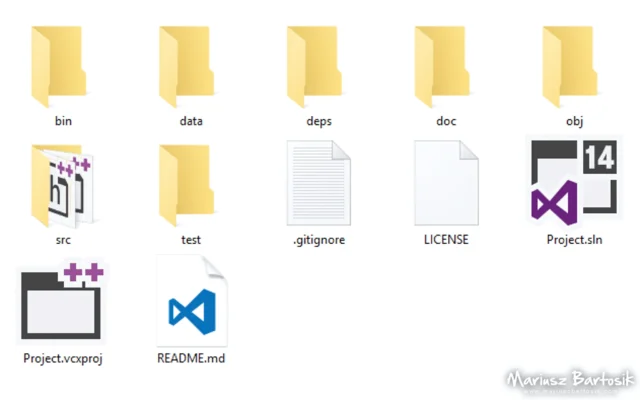
The directory structure described in the previous article can be used with any IDE and compiler. Here’s how to configure Visual Studio project for it.
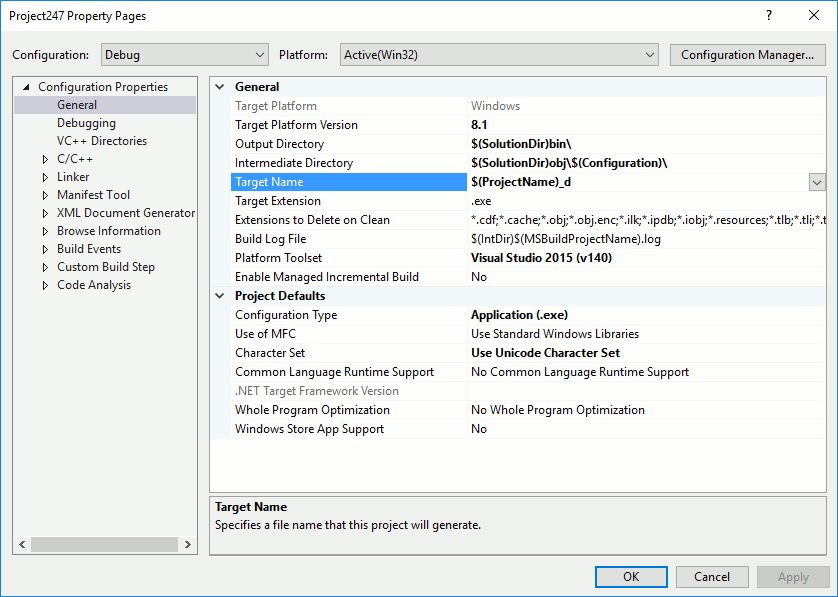
Open project’s properties window (ALT + F7 or right-click on project’s name in Solution Explorer and select “Properties”). Set Configuration to “All Configurations” and make these changes in Configuration Properties / General:
| Property | Original value | New value |
|---|---|---|
| Output Directory | $(SolutionDir)$(Configuration)\ | $(SolutionDir)bin\ |
| Intermediate Directory | $(Configuration)\ | $(SolutionDir)obj\$(Configuration)\ |
You can click on the value field and select “<Edit…>” from the drop-down menu to see a live preview of the evaluated value.
Don’t forget to add the backslash at the end of the path, otherwise you will get warning MSB8004: “Output Directory does not end with a trailing slash. This build instance will add the slash as it is required to allow proper evaluation of the Output Directory.”
Apply the changes, change configuration to “Debug” and update the Target Name property:
| Property | Original value | New value |
|---|---|---|
| Target Name | $(ProjectName) | $(ProjectName)_d |
If you plan to use any external libraries, you will have to add their path to the Configuration Properties / C/C++ / General section. Switch back to “All configurations” (or do this separately for Debug and Release configurations) and edit:
| Property | Original value | New value |
|---|---|---|
| Additional Include Directories | $(SolutionDir)deps; %(AdditionalIncludeDirectories) |
You may just enter $(SolutionDir)deps, and right after you add this, VS will append the rest to it. Do the same in the Linker / General section:
| Property | Original value | New value |
|---|---|---|
| Additional Library Directories | $(SolutionDir)deps; %(AdditionalLibraryDirectories) |
You probably will have to be more specific while adding other libraries to the project and include a separate entry for each one. The point is, don’t put any absolute paths in there.
Useful macros
As you noticed, Visual Studio provides many macros that can be later evaluated to real paths. I’ve selected a few that you may find useful in your setups. Examples assumes that the project’s name is… well, “Project”.
| Macro | Example value |
|---|---|
| $(Configuration) | Release |
| $(OS) | Windows_NT |
| $(Platform) | x64 |
| $(PlatformTarget) | x86 |
| $(ProjectDir) | D:\projects\cpp\Project\ (*) |
| $(ProjectFileName) | Project.vcxproj |
| $(ProjectName) | Project |
| $(SolutionDir) | D:\projects\cpp\Project\ |
| $(TargetFileName) | Project.exe |
| $(TargetName) | Project |
| $(TargetPath) | D:\projects\cpp\Project\Release\Project.exe |
| $(TargetPlatformIdentifier) | Windows |
| $(VisualStudioVersion) | 14.0 |
* Notice the backslash at the end, do not add another one after the macro.
You can find more of them after pressing “Macros >>” button in “Edit” window. BTW: as you scroll down this list, you may notice a typo in macro $(VSVersion) aliasing $(VisualStudoVersion). I was curious if this is a confirmed bug, and after googling a bit, I have found a reply from Microsoft: “please don’t use it as it is an internal property”. The answer is from June 2014. So, I guess, ticket closed, nothing to see here, move along…
Summary
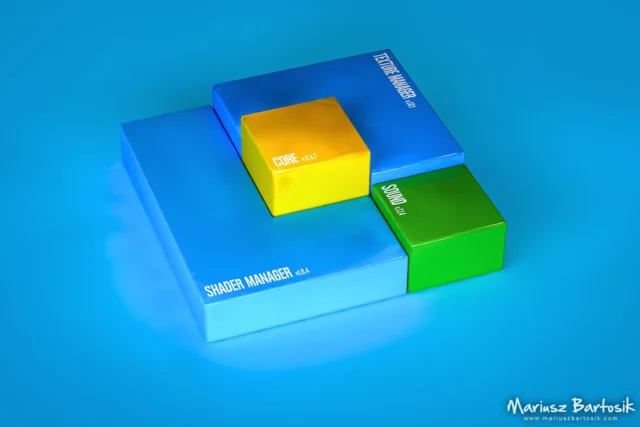
Now the executable files should land in project’s “bin” directory, compiled objects in “obj”, and you can put any dependencies in “deps” folder. This is just an essential setup, there are more interesting settings to explore. For example, we will later use Post-Build Event settings from Build Events section to take care of the deployment.


Comments
Comments are automatically closed on articles older than 512 days.